Skip to content
Become a Client
Become a Vendor
About us
Services
Property Preservation
Residential Property Maintenance Services
REO Field Services
Rehab & Renovation
Inspections
Resources
Lawn Care Guide
Winterization Checklist
Home Inspection Checklist
Home Renovation Guide
Field-Rep
About us
Services
Property Preservation
Residential Property Maintenance Services
REO Field Services
Rehab & Renovation
Inspections
Resources
Lawn Care Guide
Winterization Checklist
Home Inspection Checklist
Home Renovation Guide
Field-Rep
23 Jun
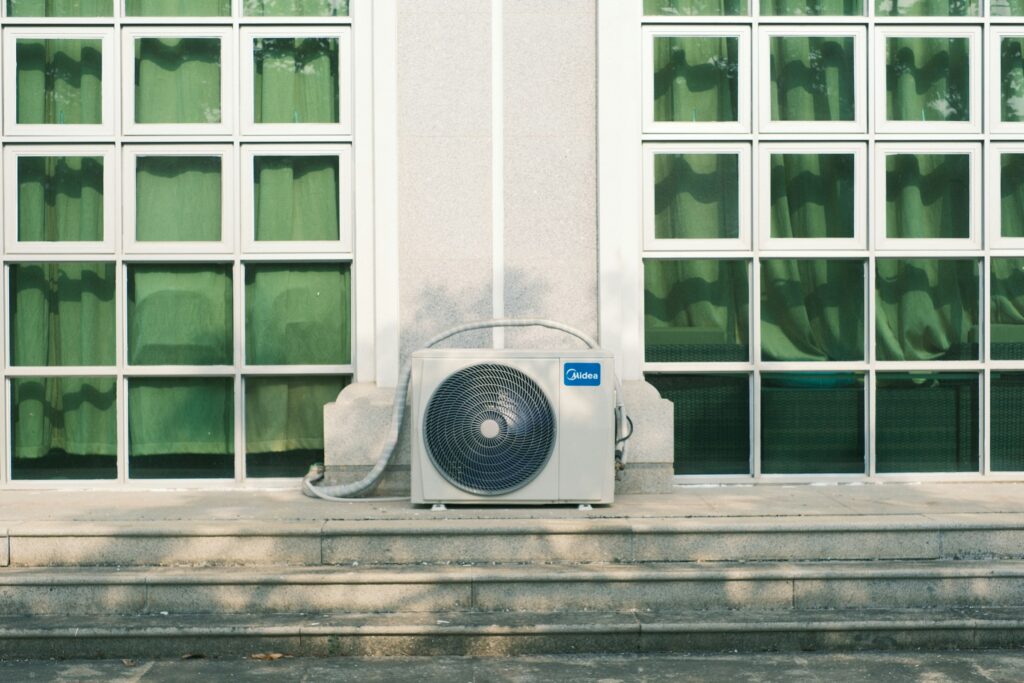
Seasonal HVAC Maintenance Checklist: What to Do Each Season
Seasonal Home Maintenance Checklist for Rental Properties
June 17, 2026
Summer Home Maintenance Checklist for Rental Properties
June 17, 2026
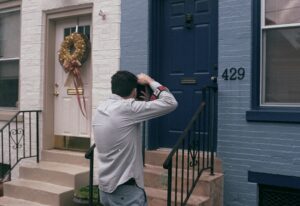
Property Inspection Guide for Field Service Providers: Checklist, Photos, and Reporting
May 13, 2026
Rental Property Inspection Checklist: What to Check Inside and Outside
May 13, 2026
Electrical Preventive Maintenance for Residential Property Managers
February 10, 2026
Property Management KPIs: Key Metrics for Single-Family Property Managers
January 26, 2026
«
Page
1
Page
2
Page
3
…
Page
14
»
Search
Search
Field Services
Hiring Contractors
Property Preservation
Property Preservation Jobs
Property Maintenance